Carpets were all the rage in the 90s, and you’d be hard-pressed to find a millennial that didn’t have one installed in their home when they were growing up. This floor covering earned an excellent reputation for its warmth, comfort, noise insulation, and relatively inexpensive price point. With that said, these functional and fashionable plush coverings don’t last forever. If your carpet is due for a replacement, here’s the 411 on how to pull up a carpet properly.
Prepping for the Pull Up
Contrary to what you may have been led to believe, carpets don’t peel off a floor very easily and pulling one up requires patience and a methodical technique. Before you start ripping up your carpet left, and right, it’s important that you prep beforehand. Here are the preliminary steps you should take prior to pulling up your carpet:
- Remove any doors that open into the room where the carpet is being torn out.
- Take out all the furniture and clear the area completely.
- Invest in a pair of heavy work gloves, a dust mask, and close-toed, thick-soled shoes.
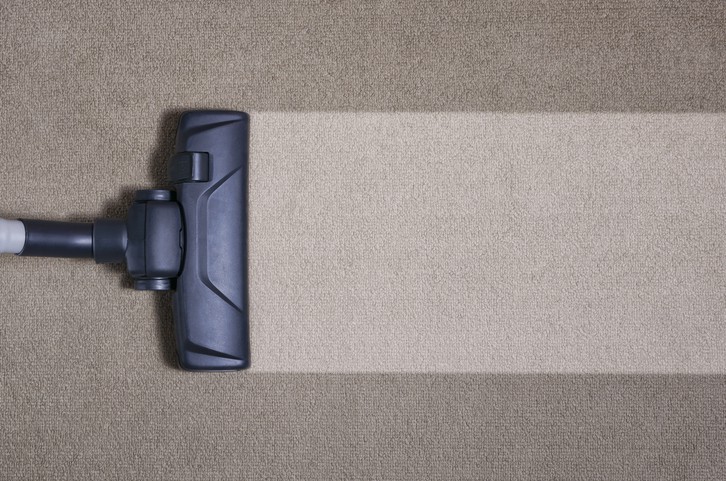
- Vacuum the old carpet to minimize the amount of dust you’ll be exposed to when you pull it up.
- Shop around and settle on a method to dispose of your carpet, whether that be calling the dump to find out how much the disposal will cost or hiring a hauling service to take your carpet away from you.
How to Easily Pull Up A Carpet
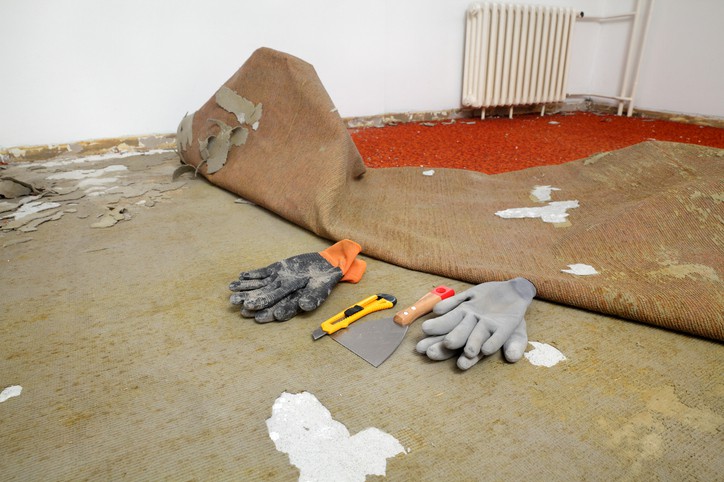
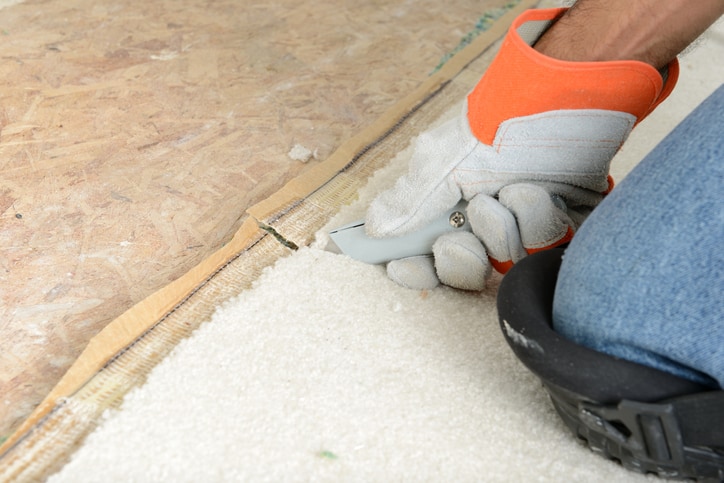
Once your carpet is all prepped to be torn out, it’s time to roll up your sleeves and get down to the nitty-gritty. Start at one corner of your carpet, pull it back, and use an X-Acto knife to cut it into small strips. If you want the floor underneath to stay in good condition, be extra careful not to nick the floor with the knife. A tried-and-true method that has salvaged floors many a time is lifting the carpet away from the floor while you’re cutting and rolling it up as you go.
As you get further into cutting the carpet, you’ll get a better sense of what a manageable strip size is. When you hit a “transition” part of the carpet, where it meets another section of carpet or flooring, leave it intact. You’ll end up saving a lot of money in the long run if transitions are left in place!
When your carpet has been fully removed, it’s time to tackle the carpet padding underneath. More often than not, the padding will need to be removed as well. Typically, carpet padding is stapled to the floor base, and you’ll need some pliers to pull said staples out. Proceed to cut the pad into smaller strips and roll it up just like you did with the carpet.
Once you finally hit the floor base, there’s a good chance that there will be chunks of the pad stuck in place. Use a floor scraper to rid of the remaining pad bits and check your floor for rusted tack strips. Tack strips can usually be left in place, but when they are rusted or have rotten sections, they need to be removed. The last thing you want is for your new carpet to be ruined by a rusting tack strip that’s bleeding.
That’s all she wrote! After the carpet, padding, and tack strips have been taken care of, all that’s left to do is make sure there are no staples left over and give your floor a good sweep and vacuum. Now you’re all set to have a new carpet put in and start fresh. And if you’re in need of a good carpet cleaner to keep your new floor covering in good condition, Love Your Rug has got you covered!
Also Read: Guide to Rug Cleaning and Rug Repair
Love Your Rug strives to do better than competitors and provide the best rug cleaning and rug repair services in Canada. We specialize in rug cutting, binding, and resurging, and our rug professionals are capable of making even the most run-down rugs look good as new. We’re so confident in our ability to clean and repair rugs and carpets that we offer all our customers a 100% money-back guarantee. Contact us today to get a free quote!

